How to make Images Load Faster? Image Optimization Techniques
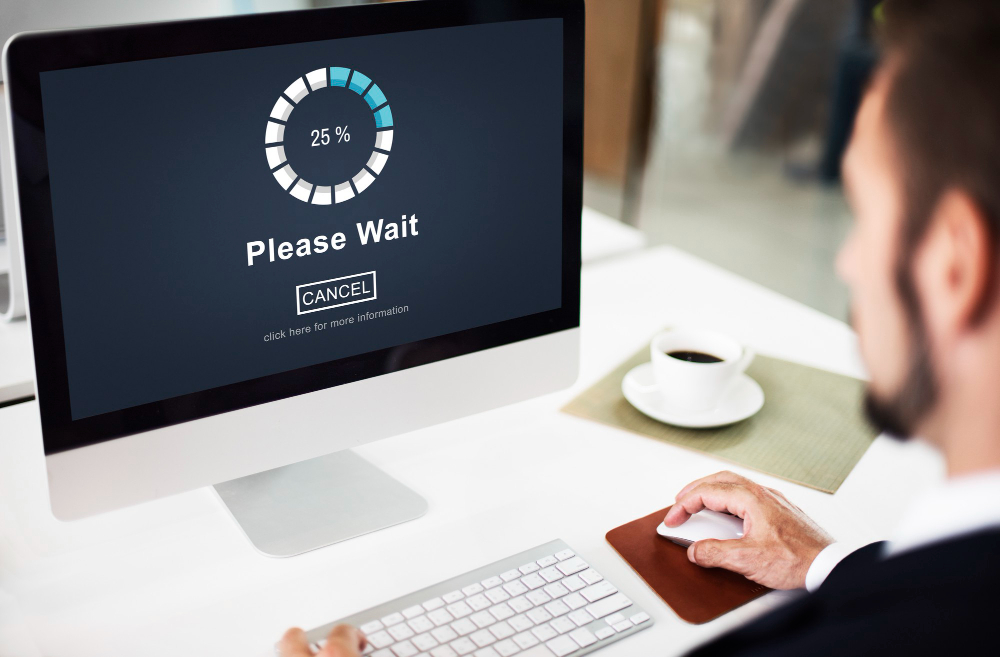
While beginning another blog, numerous novices essentially transfer pictures without advancing them to the web. These enormous picture records make your site more slow. You can fix this problem by adopting Image Optimization Techniques and best practices as part of your regular blogging routine. In this article, we'll show you How to make Images Load Faster on web performance without losing quality. We will also introduce automatic Image Optimization Plugins for WordPress that can make your life easier.
What is Image Optimization?
Image optimization is the process of saving and delivering images in the smallest possible file size without compromising the overall quality of the image. Although the process seems complex, today it is quite simple. You can utilize one of the many picture enhancement modules and devices to consequently pack pictures by up to 80% with practically no apparent misfortune in picture quality.
How truly does Picture Streamlining Work?
To put it simply, Image
Optimization works using compression technology.
Compression can be
“lossy” or “lossless”.
Lossless compression
reduces the overall file size without losing image quality. Lossy compression
can result in a small loss of quality, but ideally, visitors won't notice it.
What does it mean to Optimize Images?
You may have received a recommendation about Optimizing Images from your WordPress hosting support or a speed testing tool and are wondering what you should do. You want to diminish the document size of your pictures by improving them for the web. We'll tell you the best way to do it bit by bit.
What are the Benefits
of Picture Streamlining?
Although there are
many benefits to optimizing your images, here are the main ones you should know
about:
• Faster website
speed
• Improved SEO
rankings
• Less storage space
and bandwidth (what can reduce hosting and CDN costs)
• Faster website
backups (which can reduce backup storage costs)
Images are the second largest element on a webpage after
videos. According to the images, they make up 42% of the average total weight
of a website. Since we know that fast websites rank higher in search engines
(SEO) and have better conversions, every business website should perform Image
Loading Optimization techniques if it wants to be successful online.
Now you may be wondering what difference Image Loading Optimization can make. Publishing Responsive Images A common mistake is to upload just one large image and make it available in all viewports. A large image does not lose quality when reduced in size. To make sure it looks good on all devices, just load the largest version you have and you're done!
Except it's not that easy. If your image is 700 pixels wide,
it might look good on a 300-pixel screen. But the 700 px still needs to be
processed. So how can you maintain a high-quality image and not waste
bandwidth?
Step-by-step instructions to Save and Advance Pictures for Web Execution
The key to successfully Images Load Faster for web
performance is finding the perfect balance between the smallest file size and
acceptable image quality Okay.
Three factors that
play an important role in Image Optimization are:
• Image file format (PNG,
JPEG or GIF)
• Compression (higher
compression = smaller file size)
• Size image size
(height and width)
By picking the right
blend of each of the three, you can decrease the size of your picture by up to
80%.
Allow us to think
about each in more detail.
Picture Document Configurations
For most site proprietors, the main three picture document
designs that truly matter are JPEG, PNG, and GIF. Picking the right document
type plays a significant part in picture enhancement.
For simplicity, you want to use JPEG files for colorful photos or images, PNG files for simple or transparent images, and GIFs only for animated images. For those who don't know the difference between each file type, the PNG image format is uncompressed, which means the image is of higher quality. The downside is that the file size is much larger.
JPEG, on the other
hand, is a compressed file format that reduces image quality slightly to
provide significantly smaller file sizes.
While GIF uses only
256 colors with lossless compression, making it the best choice for animations.
On Beginner, we use
all three image formats depending on the image type.
Compression
There are different types and levels of Image Compression. Settings for each vary depending on your Image Compression Tool. Although they require some manual effort, both of these methods allow you to compress images before uploading them to WordPress, and that's what we do on Beginner.
Some popular WordPress plugins like Optimal and EWWW Image Optimizer can automatically compress images when you first upload them. It is convenient and many beginners and even big companies like to use these Image Loading Optimization plugins. We will share more about how to use WordPress plugins later in the article.
Image Size
As a rule, when you import a photograph from your telephone or computerized camera, it has an extremely high goal and an enormous record size (level and width). Typically, these photos have a resolution of 300 dpi and a size of 2000 pixels or more. While high-quality photos are ideal for printing or desktop publishing, their large size makes them unsuitable for websites. Reducing the image size to a more reasonable level can significantly reduce the image file size. You can simply resize the image using image editing software on your computer.
For example, we optimized a photo to have a resolution of 300 dpi and an image size of 4900x3200 pixels. The original file size is 1.8 MB. We chose the JPEG format for higher compression and resized it to 1200×795 pixels. The file size has been reduced to just 103 KB. This size is 94% smaller than the original file size. Now that you know the three important factors in Image Loading Optimization, let's look at the different Image-Loading Optimization tools available to website owners
Delete unnecessary images
If an image doesn't
add anything to the user experience or help explain your point, it shouldn't be
there. Plain and simple. Here's what you can do:
• Open your most
important pages and think about what they're trying to achieve;
• When you look
through them, you will clearly understand which images should be included and
which should not be included. But don't start deleting just yet;
• First, make sure
your tracking is set up. Page views, bounce rate, conversions, time on page:
all that good stuff;
• It is important to
make this decision based on data and not your subjective opinion. By saving
this data, you can compare your page before and after removing the image in
question;
• Test both versions
for a few weeks and choose the winner
Optimize Images with WordPress plugins and services
Typically, most of the optimizations discussed here are not done using hand, especially on WordPress sites. If you have a WordPress site, chances are you're using an Image Optimization plugin, if you aren't already. I won't list Image Optimization Plugins here because there are too many to choose from. Instead, I'll just focus on one important factor to consider when choosing an image optimization plugin:
Image optimization Techniques must be done in the cloud, i.e. not on your server. Friend. This way, your infrastructure won't have to face heavy operations like compression and resizing. For example, an Image Optimization Plugin running on the same server as the CMS will likely require additional CPU time to resize and compress images. On the other hand, a cloud-based service (like Nitro Pack) does the heavy lifting for you by optimizing images in the cloud and serving them through a CDN. Always be aware of the cost each plugin adds to your server. Some heavy plugins can slow down your site by increasing the amount of code that needs to be executed.